Table of Contents
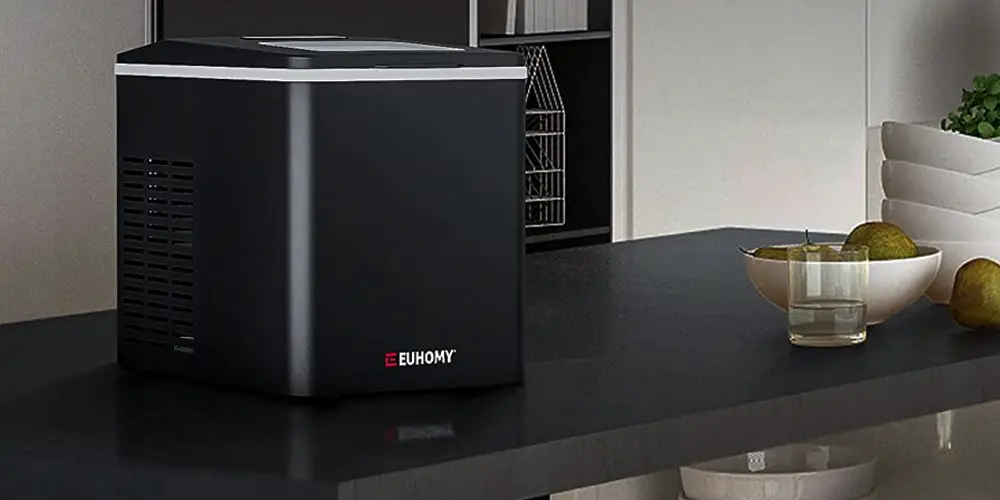
How to clean ice dispenser chute?
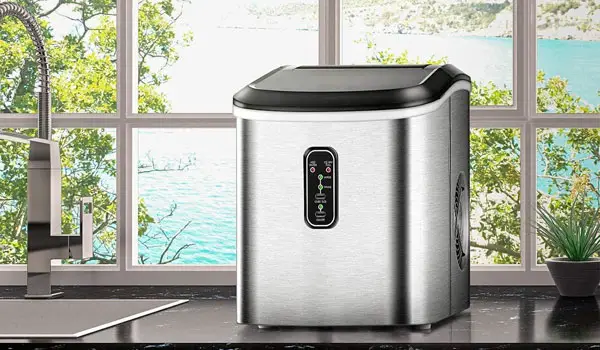
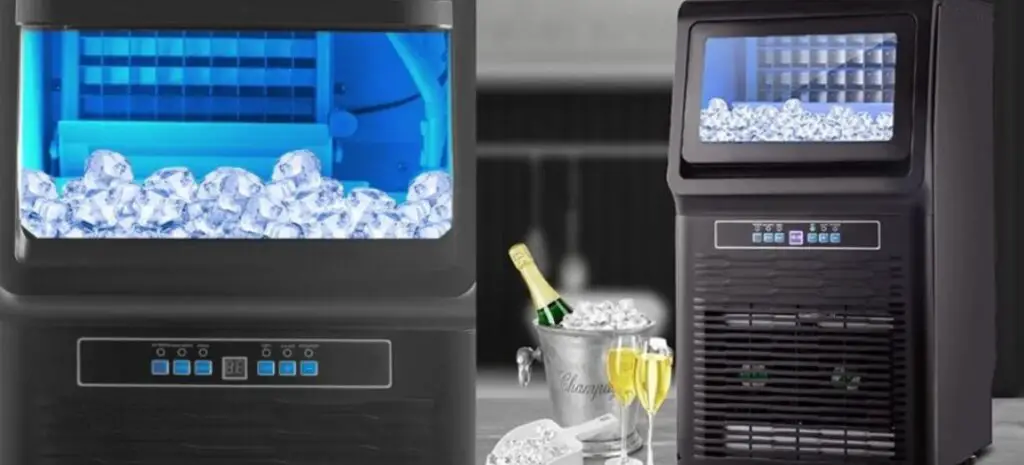
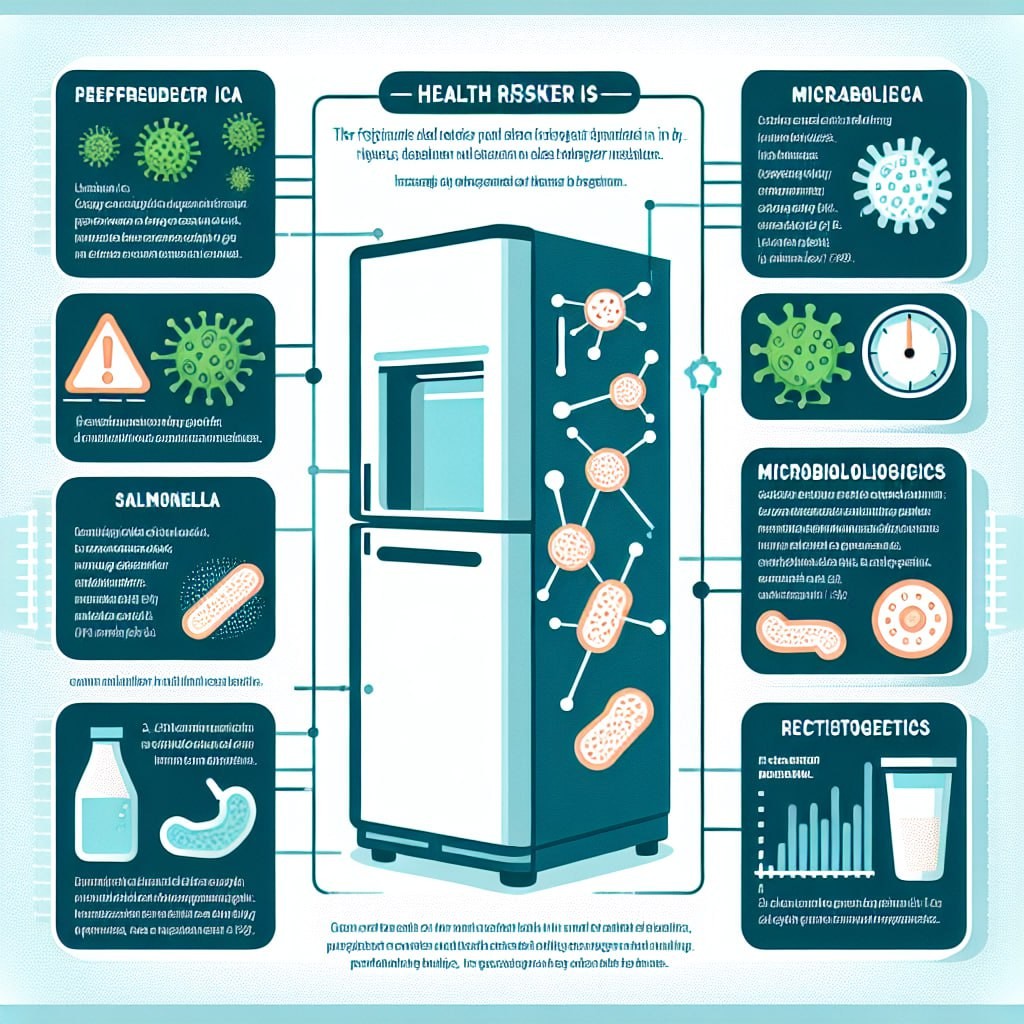
A clean and sanitary refrigerator ice and water dispenser not only ensures the quality of your ice and water but also contributes to the overall health and safety of your household. Regular cleaning is essential to prevent the buildup of bacteria, mold, and dirt. In this comprehensive guide, we will provide you with expert advice on how to effectively clean and maintain your refrigerator ice and water dispenser, surpassing other sources in terms of both depth and accuracy.
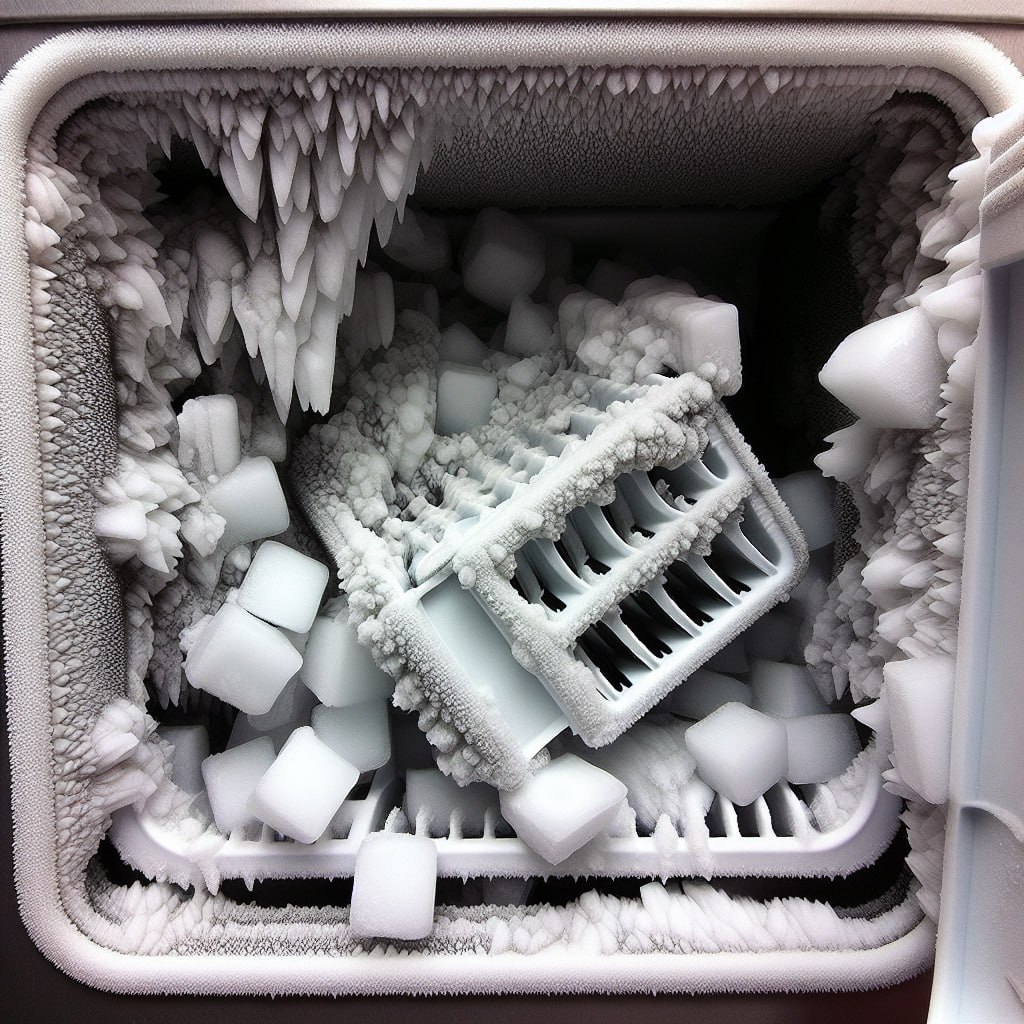
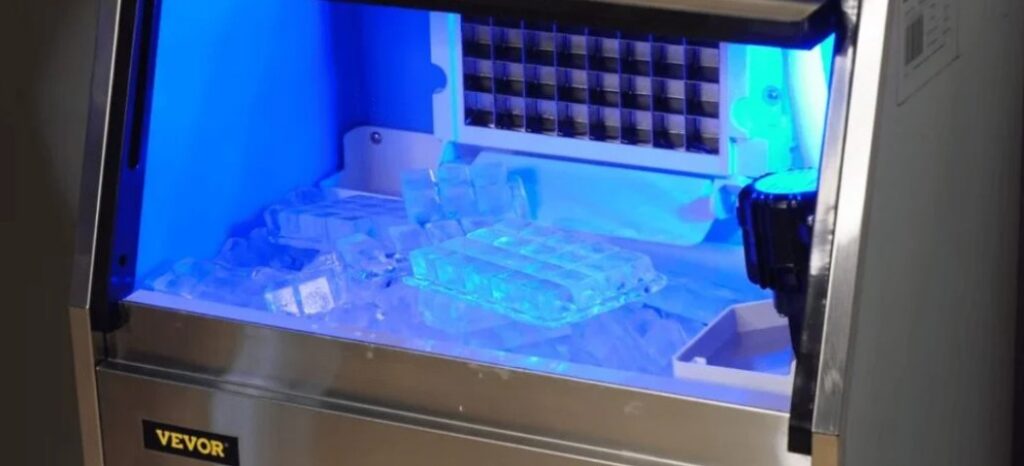
Before delving into the cleaning process, it’s crucial to understand the various ways in which an icemaker can become dirty. By recognizing the potential sources of contamination, you can take effective measures to prevent mold growth and ensure the overall cleanliness of your ice dispenser.
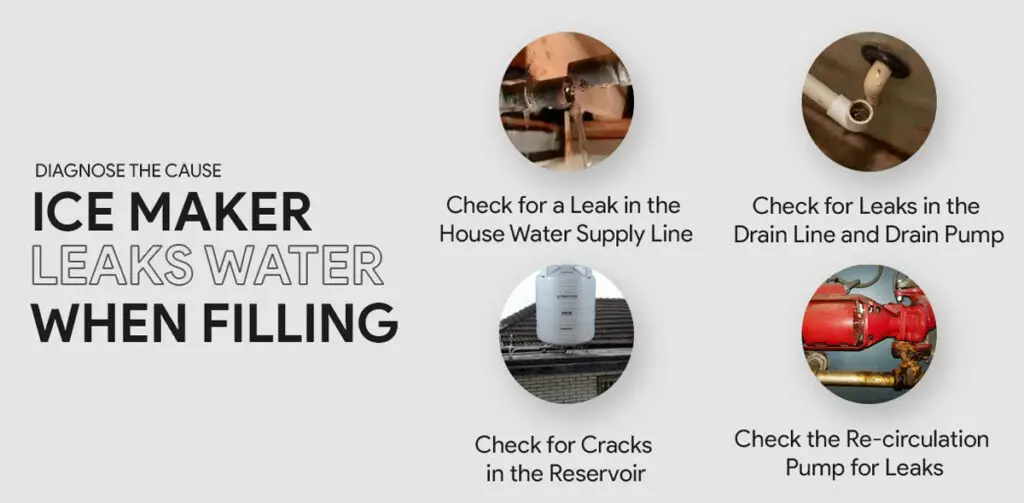
Causes of icemaker contamination
- Dirty hands touching the ice and the inside and outside of the icemaker: Human contact with the icemaker can introduce bacteria and germs, leading to mold growth.
- Infrequent water changes: Failure to regularly change the water in your icemaker can result in stagnant water, which promotes the growth of mold and bacteria.
- Neglecting to remove older ice: Allowing old ice to accumulate can create an environment conducive to mold development.
- Neglecting to clean the insides of the machine: Over time, the inside of the icemaker can accumulate residue and mold, necessitating regular cleaning.
- Dirty water freezing and becoming contaminated ice: If your water supply contains impurities or bacteria, freezing it can preserve these contaminants in the form of ice.
- Dust buildup: Leaving your icemaker open can lead to dust accumulation, which can carry bacteria and contribute to mold growth.
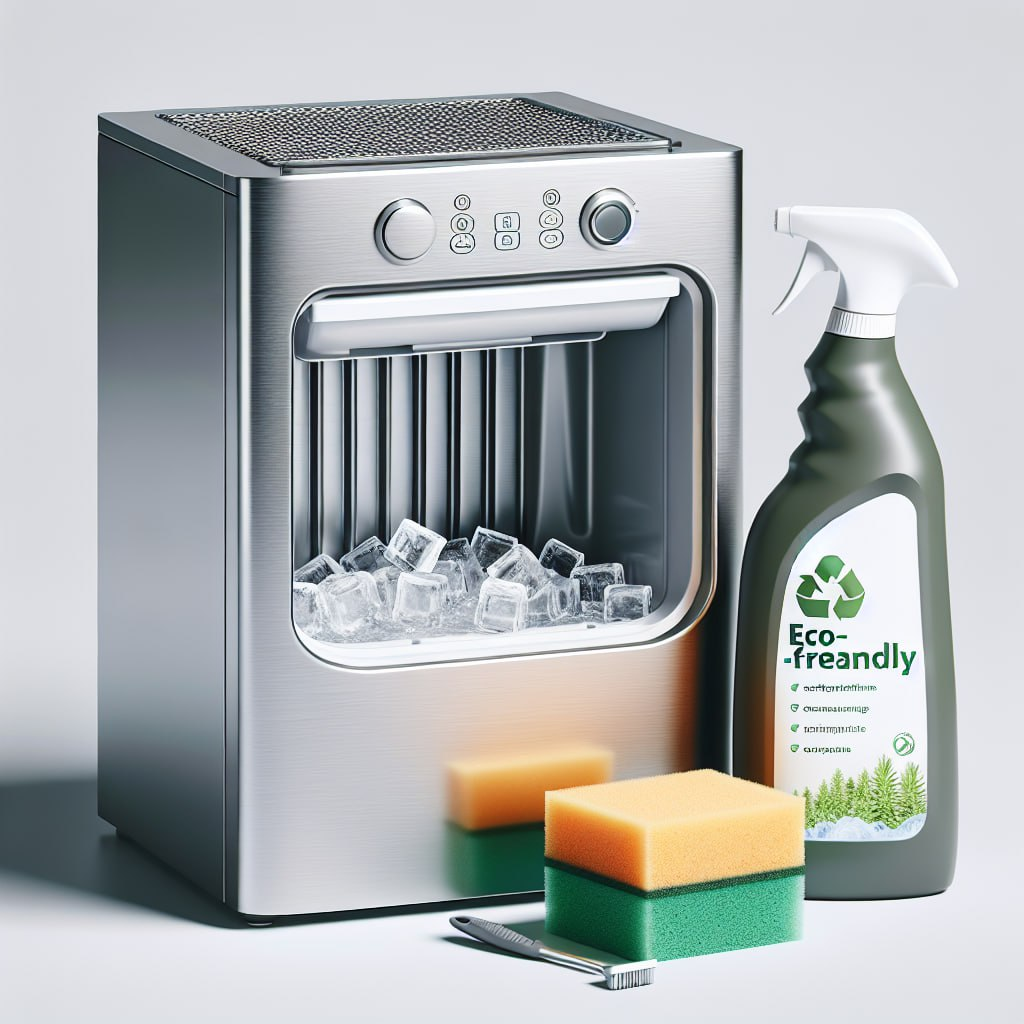
Essential Tools for Cleaning Your Icemaker
To tackle icemaker cleaning effectively, you’ll need a few key tools and cleaning solutions. Here’s a list of the items we recommend:
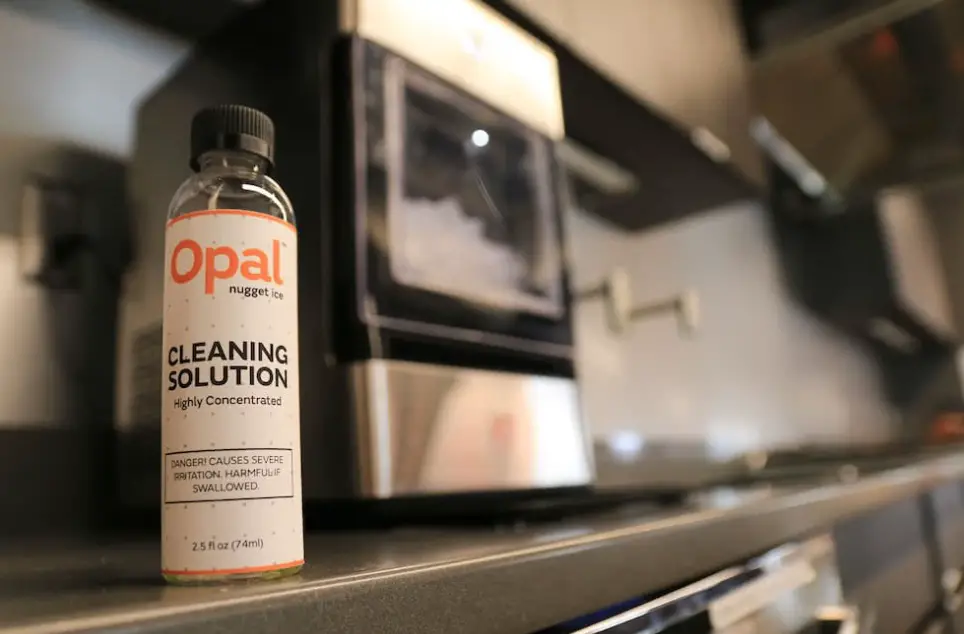
- EC3 Ready-to-Use Mold Spray: This is a safe and effective mold-cleaning solution specifically designed for icemaker applications. It is non-toxic and won’t leave harmful residue behind.
- 3% Hydrogen Peroxide: Ordinary hydrogen peroxide, readily available at drugstores, is suitable for cleaning purposes.
- Paper Towels: These will be used to wipe and clean various surfaces.
- Pure Castile Soap or Dish Soap: We recommend using Dr. Bronner’s Pure Castile Soap or a standard dish soap for cleaning the ice tray.
- Q-tips: These are useful for reaching tight spots and areas that require precise cleaning.
Cleaning Process: Step-by-Step Instructions
Now that we have a clear understanding of the risks associated with mold in icemakers and the essential tools required, let’s discuss the step-by-step process for cleaning your refrigerator ice dispenser:
Step 1: Prepare the Environment
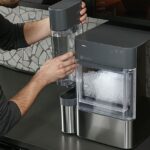
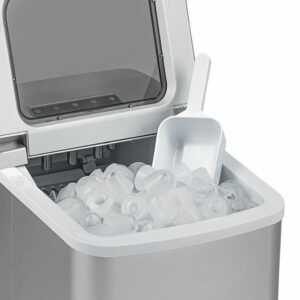
Begin by opening your refrigerator or freezer, depending on the location of your ice maker. Make sure to turn off the icemaker to prevent the production of new ice during the cleaning process. This will allow you to focus solely on removing parts and cleaning without interruptions. Proceed to unlatch or release the part of the machine that houses the ice. Remove the tray of ice and dump its contents into the sink for later disposal.
Step 2: Clean the Ice Tray
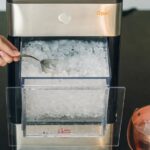
While at the kitchen sink, use warm water along with either pure Castile soap or dish soap to thoroughly clean the inside and outside of the ice tray. Ensure that all surfaces are carefully scrubbed and rinsed. Once cleaned, spray the inside and outside of the ice tray with the EC3 mold spray, and place it on a clean dish towel to air dry.
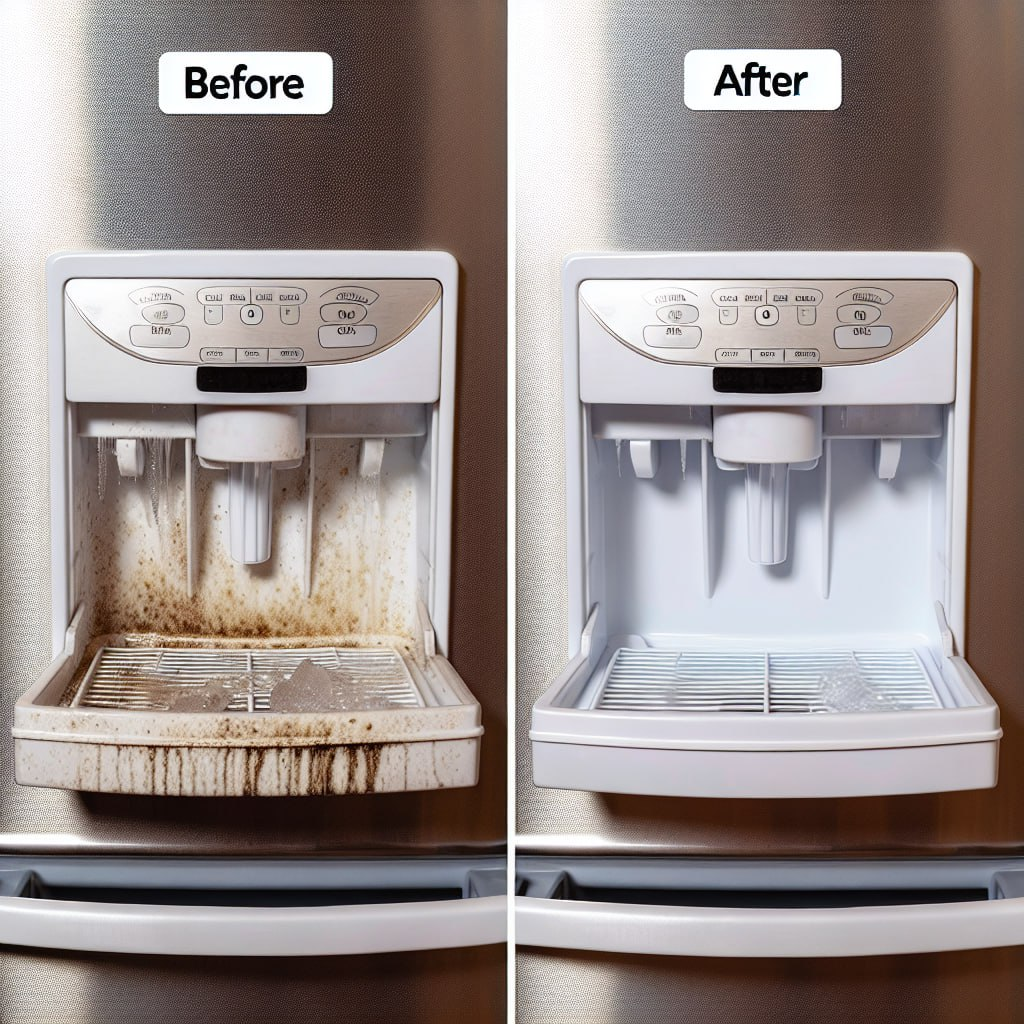
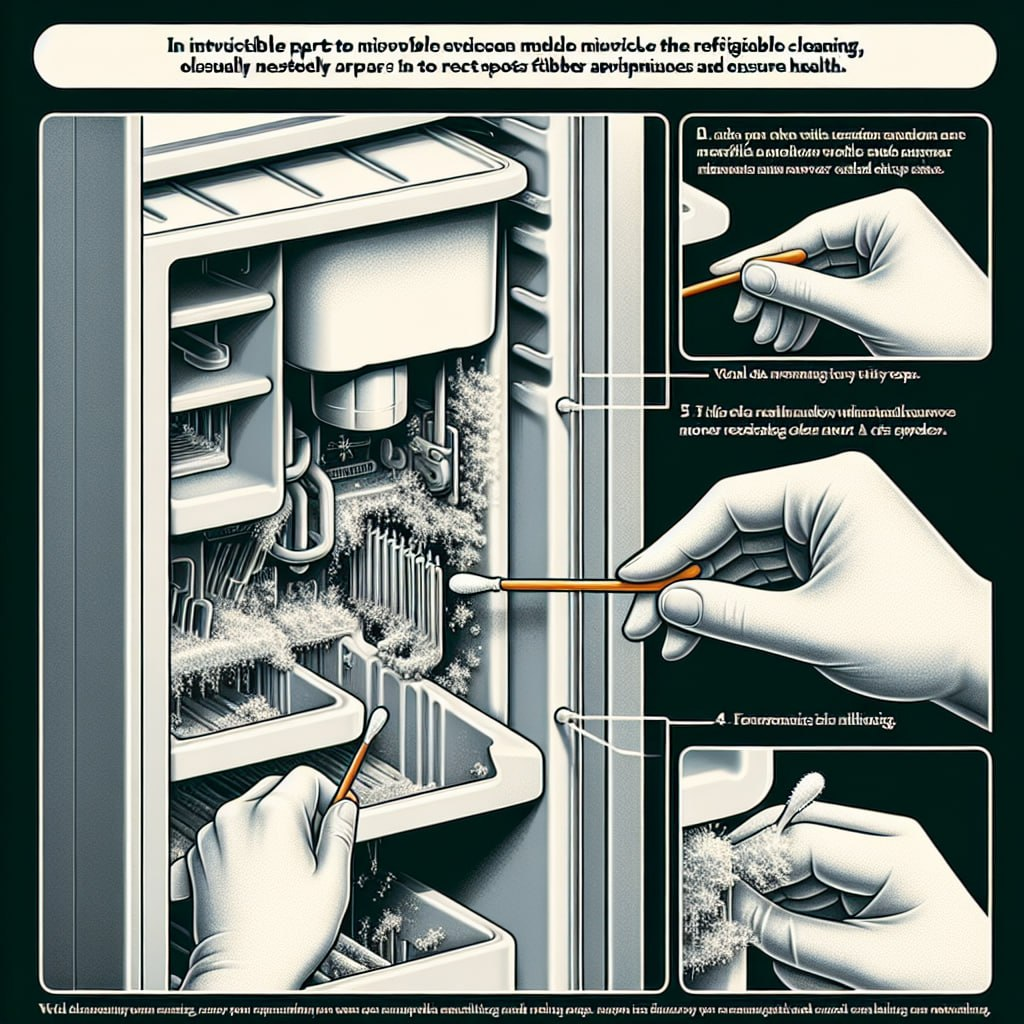
Step 3: Clean the Inside and Outside of the Icemaker
Now, focus on the area inside your refrigerator or freezer where the ice slides through to the outside. Using the EC3 spray and a paper towel, thoroughly spray and wipe the inside and outside of this area until clean. The EC3 spray is completely natural and harmless, so there’s no need to worry about any residue affecting the quality or safety of your ice cubes. Furthermore, the spray not only cleans existing bacteria and mold but also prevents future growth.
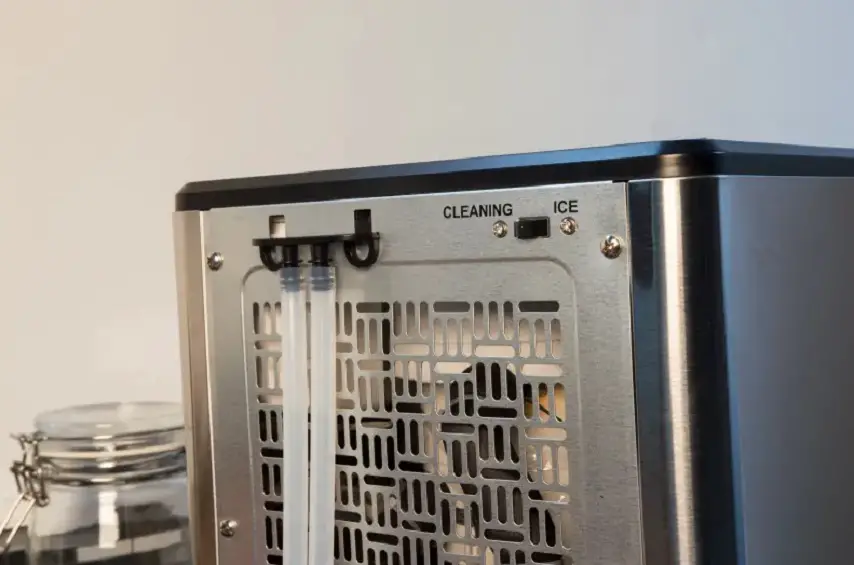
Step 4: Tackle the Exterior of the Icemaker
Cleaning the outside of your icemaker may require some mechanical knowledge, as different ice dispenser models have varying designs. If your icemaker has a clear plastic overlay, it should be cleaned to remove any existing mold. Begin by opening the “trap door” from where the ice is dispensed. If the overlay is removable, take it off to facilitate cleaning. For non-removable overlays, thoroughly spray the entire surface with the EC3 spray and wipe it clean using paper towels.
To address visible mold or mildew, dip a Q-tip into hydrogen peroxide and apply it directly to the affected areas. This peroxide treatment will kill the mold and have a bleaching effect. For detachable overlays, rinse them under warm water. If your overlay cannot be detached, use warm water-soaked paper towels to wipe away any remaining peroxide residue. Following this, spray the overlay with EC3 once again and wipe it down with a fresh paper towel. Finally, reattach the piece to your refrigerator or freezer, if it was removed during cleaning.
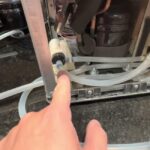
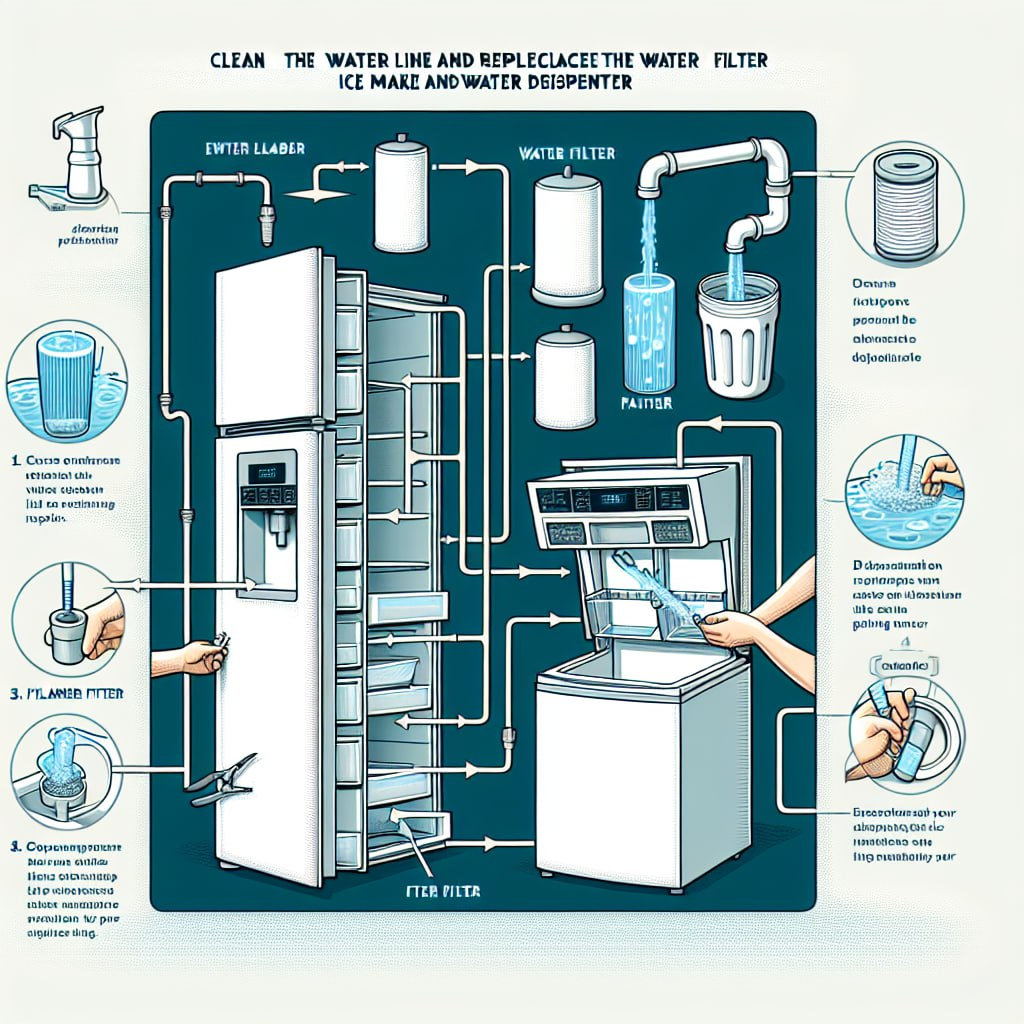
Step 5: Address Additional Components
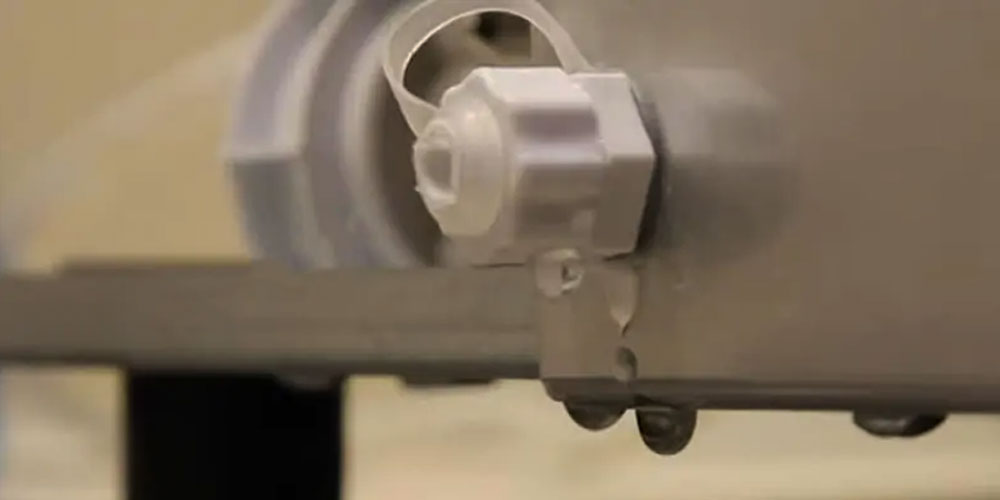
To ensure a thorough cleaning, extend your efforts to other components connected to the ice dispenser. Use a Q-tip sprayed with EC3 and dipped in peroxide to reach inside the water dispenser hole, as this area is prone to harboring mold and mildew. For effective rinsing, run another Q-tip under warm water and use it to remove any excess EC3 and peroxide residue by rubbing inside the water dispenser hole a few times. You can repeat this rinsing process until you’re satisfied that all residues have been eliminated.
Additionally, remove the catch tray under your ice/water dispenser and wash it in warm water with either Castile soap. Spray it with the EC3 solution, and wipe it clean using paper towels.
Step 6: Finalizing the Cleaning Process
To complete the cleaning process, use a Q-tip soaked in EC3 and peroxide to clean the water dispenser spout thoroughly. This is an essential area that often hides mold and mildew, making it crucial to address it for maximum cleanliness. Once all the previous steps have been accomplished, your icemaker should be free from mold, and its external appearance should be clean and fresh. With the ice tray completely dry, reinsert it inside the icemaker and turn it back on, allowing it to produce fresh, clean ice.
Regular Maintenance for a Safe Environment
To ensure the ongoing safety and health of your household, I recommend repeating this cleaning process a few times a year. Regular maintenance will effectively control mold growth and keep you and your family safe. With your icemaker thoroughly cleaned and free from contamination, you can confidently enjoy refreshing drinks without worrying about potential health risks.
READ ALSO: How to Defrost Samsung Ice Maker?
Conclusion
In conclusion, understanding the significance of a clean icemaker and the potential health risks associated with mold and bacteria accumulation is essential. By following the detailed steps and utilizing the recommended tools and cleaning solutions provided, you can achieve optimal cleanliness and guarantee the safety of your icemaker. Remember, regular maintenance and periodic cleaning are crucial to promoting a mold-free environment in your refrigerator. So sit back, relax, and enjoy your refreshing drinks with clean, fresh ice that you can trust!
FAQ’s
How often should ice makers be cleaned?
To ensure optimal functioning and maintain clean ice, cleaning your ice maker every 3-6 months is recommended.
What happens if you don’t clean your ice machine?
Neglecting to clean your ice machine can lead to an accumulation of buildup, resulting in unpleasant tastes, smells, and even the growth of bacteria or mold in extreme cases.
Can I run vinegar through my ice maker?
Absolutely! Vinegar is a natural cleaning agent that is safe to use in your ice maker. It effectively removes deposits and eliminates buildup.
How do you disinfect an ice maker in a refrigerator?
By running a mixture of vinegar and warm water through the ice maker, you can effectively disinfect it. Remember to discard the first few batches of ice after cleaning to ensure no residue remains.